


**SKS Side
Original price was: $48.42.$32.52Current price is: $32.52.
64 in stock
Description
Transform your SKS into a modern-day tactical firearm with the ATI SKS Strikeforce Stock.
The TactLite Six-Position Adjustable SKS Stock is made from DuPont Extreme Temperature Glass Reinforced Polymer, making it scratch and weatherproof. The stock side-folds to the Left of the receiver and can be fired from folded position. The stock has additional ventilation in forend and top cover, slot for tactical sling attachment, two sling swivel studs. All mounting hardware is included.
The TracLOCK System provides smooth secure stock adjustments, eliminates horizontal and vertical movement of the stock on the buffer tube, eliminates the need for secondary locking mechanisms, has dual-sided QD attachment point, and no snag points.
The adjustable/removable cheekrest has an elongated design to fit all users. It provides 1/2″ of adjustment.
X Series Thin Recoil Pad is non-slip and removable. X1 Style Pistol Grip has sure-grip texture for more control, absorbs recoil impact, reduces the challenge to reacquire the target by minimizing Muzzle Lift. Due to the design, it is not affected by chemicals or extreme temperatures.
Four Forward Picatinny Rail Locations: one 4″ Picatinny Rail, three 2″ Picatinny Rails, one 2″ Picatinny Rails, one 2″ Swivel Stud picatinny Rail, and blank covers for unused rail locations.
Features:
TactLite 6-Position Adjustable StockTracLOCK SystemRemovable/Adjustable Cheekrest SystemX Series Thin Recoil PadX1 Style Pistol GripFour Forward Picatinny Rail LocationsAdditional ventilation in forend and top coverSlot for tactical sling attachmentTwo sling swivel studsMade in the USA
Fits: SKS Rifles – Minor modification may be required in some cases. Blade Bayonet must be removed.Notes: SKS Scope Mount NOT included/Sold SeparatelySling Swivel Studs Accepts any Standard Sling Swivel (not included)
SEC922R: ATI products are manufactured in the USA and count towards compliance parts. Contact your local gun shops or shooting ranges for this and other compliance issues.
Strikeforce SKS Stock
Parts List: Stock Sub-assembly, Stock body, Top cover,Pistol Grip, 4” Bottom rail, Side/bottom rail (4), blank inserts (4).
Hardware List: Spring, Sling Stud 10-32×4/16, Sling Stud3/8” Course, Nut 10-32, Nut 6-32 (8).
Screws: 14×1 1/4”, 6-19×3/4”, 6-19×1/2” (2), 6-32×3/8” (8).
Installation Instructions:
1. TriggerAssembly Removal
To remove the trigger assembly, begin byinserting a pin punch or phillips head screwdriver into the spring latch catchat the rear of the trigger guard and pressing inward firmly until the spring latchreleases. The trigger assembly will no spring out and can be removed from thestock by pulling outward on the rear of the receiver.
2. BarreledAction Removal
To remove the barreled action from thestock body, pull outward and towards the rear.
3. Gas TubeAssembly Removal
Using a punch or small screwdriver, raisethe lever on the right side of the rear sight base. The dimple on the levershould stop at the end of the curved track on the right side of the rear sightbase. With the lever in this position, you can now lift upward at the rear ofthe gas tube and out of the firearm. Next, remove the gas piston from theassembly by tipping it upside down and letting it slide out. There is a smallrivet running though the rear handguard in the gas tube assembly. The rivet hastwo ends, the head, and the shaft end. Be sure to punch out the shaft end andremove the rivet using a 1/16” punch.
4. Top SlingStud Installation
To install the top sling stud, locate thehole on the top of the stock near the folding button. Using an adjustable wrench,tighten the sling stud until seated.
5. BlankInsert (Optional) Installation
If you choose to install the 4 blankinserts into the stock body, you will take one insert and install into the sideof the stock body making sure the tabs line up into the stock body until flush.You will repeat this same process for the left side, and both bottom slots.
6. PicatinnyRail (Optional) Installation
If you choose to install the bottompicatinny rail with the sling stud, begin by installing the 10-32 hex nut intothe pocket on the bottom of the picatinny rail. Next, while holding your fingerover the 10-32 hex nut, thread the sling stud into the rail until it is seatedinto the hex nut.
Next, install (2) 6-32 hex nuts into thepockets on the bottom of the inside stock body. Align the bottom rail intoplace and while holding a finger over the hex nuts, fasten the rail using (2)6-32×3/8” machine screws and a phillips head screwdriver.
To install the 4” bottom rail, begin byremoving the 2” rail, making sure to keep the hex nuts installed. Next, locatethe remaining 2 pockets on the inside of the stock body and insert (2) 6-32 hexnuts into the pockets. Align the bottom rail into place and while holding afinger over the hex nuts use a phillips head screwdriver to fasten (4) 6-32×3/8machine screws to the picatinny rail.
To install the side rails, begin by locatingthe existing pockets on the inside of the stock body and insert (2) 6-32 hexnuts into the pockets. Align the side rail into place and while holding afinger over the hex nuts use a phillips head screwdriver to fasten (2) 6-32×3/8machine screws to the picatinny rail.
7. MagazineInstallation
Begin by turning the barreled action overand installing the magazine, making sure to mate the magazine to the slot onthe bottom of the rear sight base until seated.
8. BarreledAction Installation
Next, install the barreled action into thestock body, making sure the stock is as far forward on the action as it will goand slide into place. You will also want to make sure the front of the stockbody seats onto the band of the front of the barreled action.
9. TriggerInstallation
To install the trigger assembly, insertthe front of assembly into the stock making sure the cross pins go to locatorlugs on the bottom of the receiver. Tap the trigger guard forward and firmlypush down on trigger assembly until it locks into place.
1. GasTube Cover Installation|
To install the gas tube cover onto the gastube, begin by placing the cover onto the gas tube and sliding into place untilthe front of the handguard is seated.
Note: Because the SKS is a mil surplusfirearm, the band may be disformed from previous re-manufacturing. Because ofthis you may need to re-form the bad to help with seating of ATI gas tubecover.
Next, install the rear sheet metal coveronto the gas tube until seated. Note: the sheet metal cover may not always sitflush against the handguard. Place the rivet into the hole in the sheet metalcover and lightly tap the rivet until seated. Note: Because the SKS is a milsurplus firearm, the band may be disformed from previous re-manufacturing. Becauseof this you may need to re-form the bad to help with seating of ATI gas tubecover.
11. GasTube Installation
To install the gas tube, begin byinserting the front of the gas tube assembly into the proper location untilseated.
Next, making sure the lever on the rearsight base is raised, insert the rear of the gas tube assembly, and push downuntil seated. Make sure the lever is all the way down and locked into place.
12. PistolGrip Installation
Due to the many variations of the SKS atrigger group spring is required. Insert the trigger group spring into thepilot hole of the grip. Installation of the spring will provide a tight fitbetween the receiver, trigger assembly, and Strikeforce Stock.
To install the pistol grip, begin byremoving the backstrap from the grip and seating the grip housing onto thestock body. Next, using the 6-19×3/4” screw and a phillips head screwdrivertighten the grip to the stock. Slide the backstrap onto the grip housing untilseated and using the (2) 6-19×1/2” screws tighten the backstrap until snug.
13. Tubeto Grip Assembly Installation
|With the knuckle in the folded position,slide the buffer tube into the knuckle. Using a phillips head screwdriver andthe provided 14×1 ¼” phillips head screw tighten the tube through the back ofthe knuckle.
TactLite Adjustable Cheekrest Kit
Parts List: Cheekrest, right/left mounts
Hardware list: 6-32×3/4” and (4) 6-32×1/4” screw, Nut 6-32(5)
Installation:
1. HexNut to Mount Installation
Begin by placing the (5) 6-32 hex nutsinto the slots of the cheekrest mounts until seated properly.
2. CheekrestMount Installation
Begin by attaching the right sidecheekrest mount and snap into the pocket until properly seated.
Turn the stock over and attach the leftside cheekrest mount and snap into the pocket until seated properly
Using the provided 6-32×3/4” screw threadthe screw through the left side cheekrest mount and tighten using theappropriate allen wrench.
3. CheekrestInstallation
Take the cheekrest and slide onto thecheekrest mounts making sure the holes on the cheekrest line up with thecheekrest mount holes.
Using the provided 6-32.1/4” screw and theappropriate allen wrench, tighten the left side of the cheekrest. Turn thestock over and repeat the process to tighten the right side of the cheekrest.
Related products
-
- Sale!
- hot sale
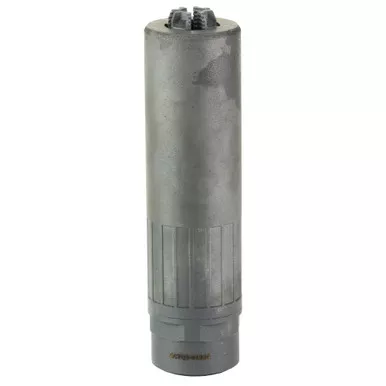
CAT Alleycat 556 Inconel, Quick Detach, Black
- Original price was: $706.19.$379.24Current price is: $379.24.
- Add to cart
-
- Sale!
- hot sale
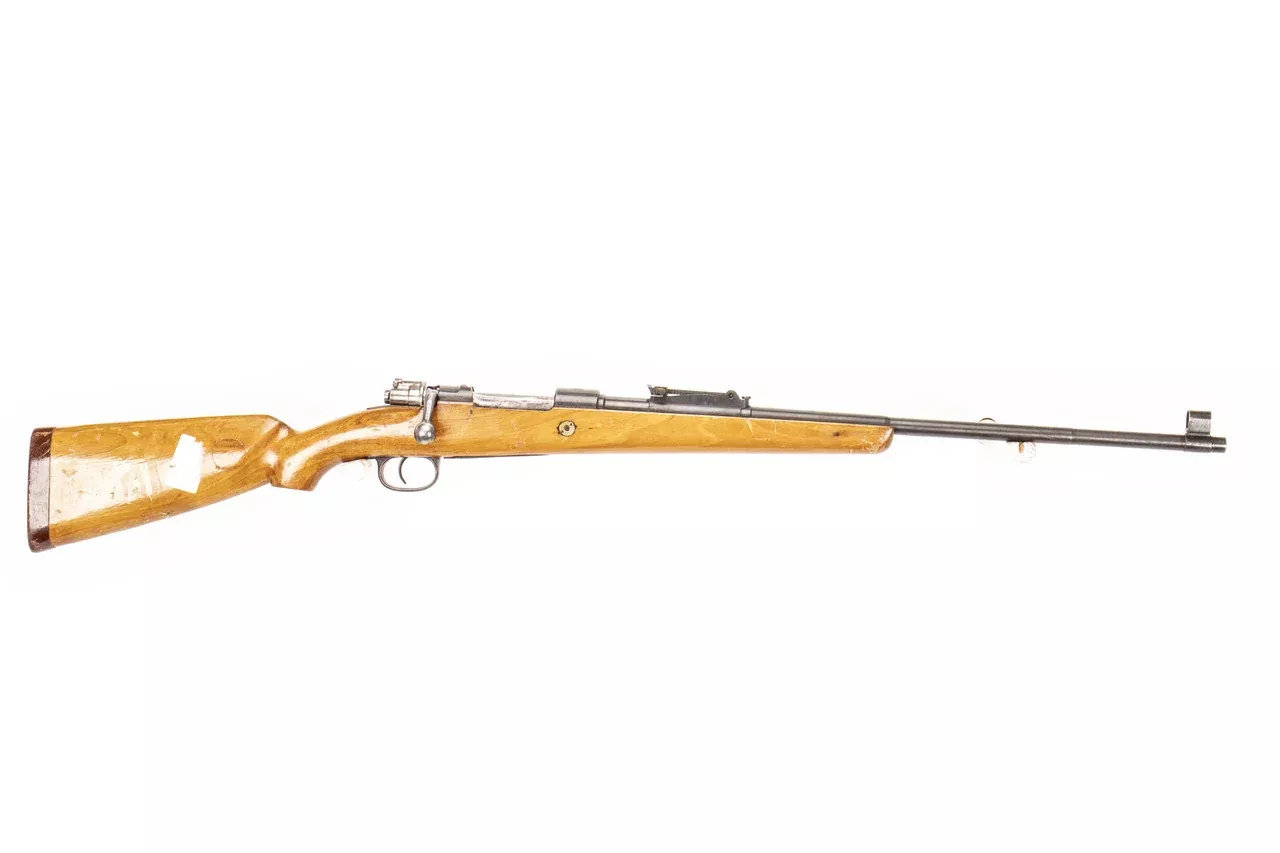
M48A 8mm Mauser Bolt Action Rifle Sporterized – Overall Surplus Good Condition (10)
- Original price was: $255.99.$194.91Current price is: $194.91.
- Add to cart
-
- Sale!
- hot sale
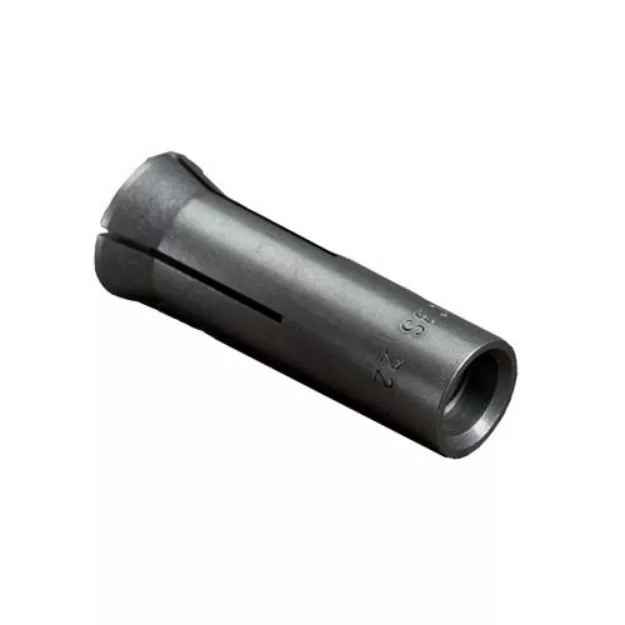
Rcbs Collet For Bullet Puller 6.5Mm
- Original price was: $12.79.$9.48Current price is: $9.48.
- Add to cart
-
- Sale!
- hot sale
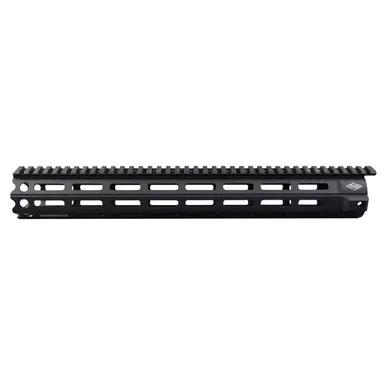
Yankee Hill Machine MR7 AR-15 MLOK 15″ Handguard – Black
- Original price was: $175.96.$128.61Current price is: $128.61.
- Add to cart
-
- Sale!
- hot sale
Redding 73 Style Steel Bushing/.336
- Original price was: $15.99.$9.51Current price is: $9.51.
- Add to cart
-
- Sale!
- hot sale
Timber Creek Outdoor Inc Safety Selector, 45/90 Degree, Flat Dark Earth
- Original price was: $22.46.$16.42Current price is: $16.42.
- Add to cart
-
- Sale!
- hot sale
Volquartsen Mini Scorpion, 22 Long Rifle, 3.00″ Barrel, 10 Rds, Black
- Original price was: $840.42.$607.74Current price is: $607.74.
- Add to cart
-
- Sale!
- hot sale
Trim Pro 3-Way Chamfer Pilots 30 Cal
- Original price was: $10.39.$7.92Current price is: $7.92.
- Add to cart